
Step by Step Guide to Filling Empty Paint Tubes

Filling empty paint tubes is not hard to do. You can save money and help the environment. You can also make your own colors. This easy method is good for new and skilled artists. Pick your favorite paint and get ready for some fun DIY work.
Key Takeaways
- Filling empty paint tubes helps you save money. It also helps you make less waste. You can mix your own colors. This keeps your paint fresh for longer.
- Use a cardboard funnel to fill the tubes. Use a palette knife to help move the paint. Tap the tube gently so the paint settles. This stops air pockets from forming.
- Label your tubes with color names and safety notes. This makes it easy to find your paints. It also keeps your workspace neat and tidy.
Materials Needed for Empty Paint Tubes

Tools and Supplies
You need the right tools to fill empty paint tubes at home. Here’s a handy list to get you started:
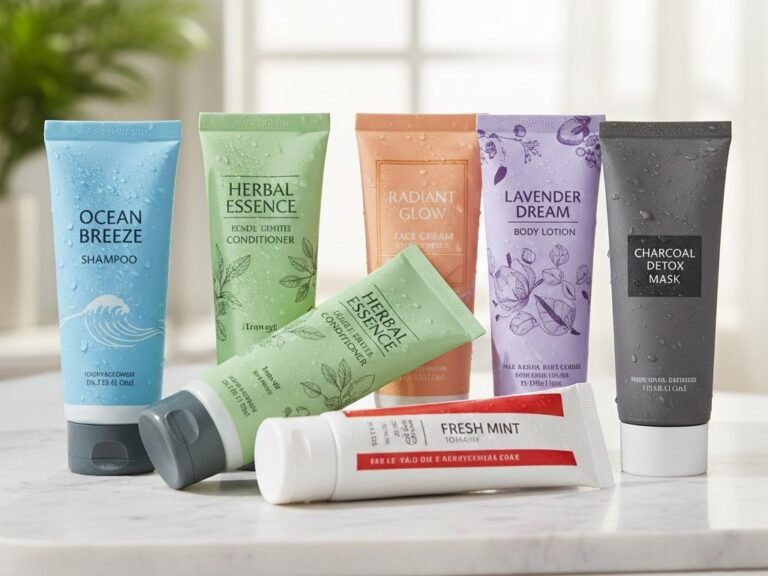
- Empty aluminum paint tubes (brands like Blick Art Materials, Utrecht, and Xinfly Packaging are popular choices)
- Palette knife for mixing and scooping paint
- Cardboard funnel to help guide paint into the tube
- Clean workspace and gloves to keep things tidy
- Screw caps for sealing the tubes tight
Tip: Aluminum tubes work well for storing acrylics, oils, and watercolors. They keep your paint fresh with a secure screw cap.
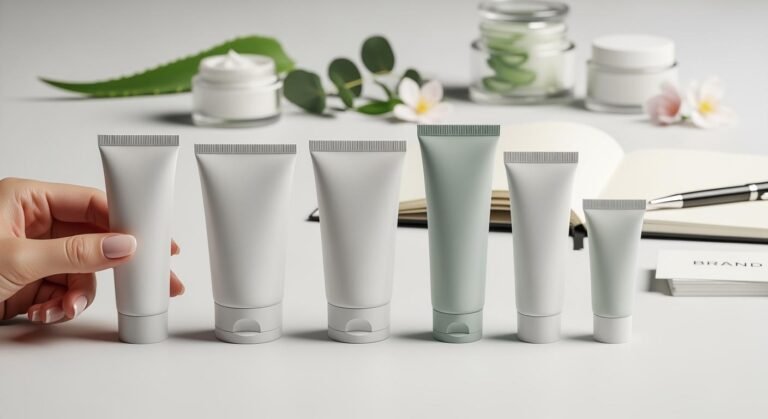
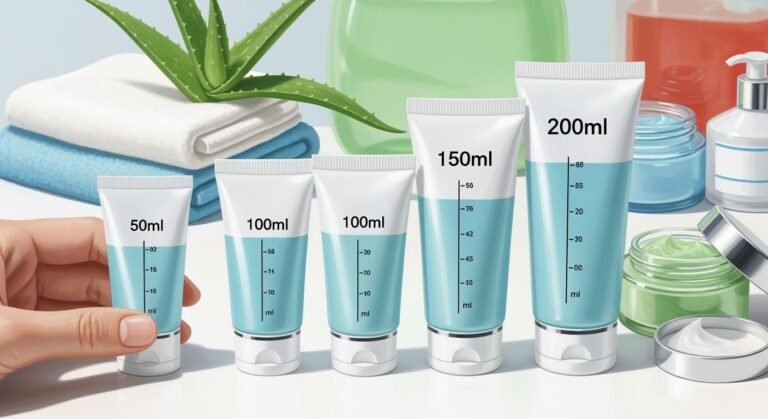
You can find empty paint tubes in different sizes. Creative Mark offers tubes from 22ml up to 170ml. Prices range from $36.69 to $46.19, and you might see discounts up to 30% off. Pick the size that fits your project.
Choosing Paint Consistency
Getting the paint consistency right makes a big difference. If you use oil paint, you want a thick, stiff paste. The texture should look and feel like toothpaste. This helps the paint stay inside the tube and keeps it from leaking.
- Grind oil paint until it’s firm and dense.
- Avoid runny or watery paint, which can cause messes.
If you use acrylic or watercolor, check that the paint is not too thin. Thick paint fills empty paint tubes best and gives you smooth results.
How to Fill Empty Paint Tubes

Preparing Tubes and Paint
Before you start, set up your workspace. Lay out your empty paint tubes, paint, palette knife, and a homemade cardboard funnel. You want everything within reach. If you use Xinfly Packaging tubes, you get sturdy aluminum that keeps your paint fresh.
Get your paint ready. For oil paint, mull it into a stiff, cohesive paste. Avoid adding too much oil. If your paint is too runny, it can leak or separate inside the tube. For acrylics or watercolors, make sure the paint is thick and smooth. This helps you avoid messes and keeps the paint from drying out too fast.
Tip: Always wear gloves when handling paint, especially if it contains heavy metals or other toxic materials. Keep your workspace clean and store solvent-soaked rags in a closed container.
Fill Empty Paint Tubes Step by Step
You can fill empty paint tubes easily if you follow these steps:
- Make a Cardboard Funnel
Cut a piece of cardboard into a circle. Roll it into a cone shape and secure it with masking tape. Stand the funnel in the open end of the tube. Most of the funnel should stick out. - Load the Paint
Use your palette knife to scoop paint into the funnel. Let the paint drop down into the tube. If some paint sticks to the funnel, scrape it in with your knife. - Settle the Paint
Tap the tube gently on a hard surface. This helps the paint settle and pushes out air pockets. Squeeze the tube from the bottom to move the paint toward the nozzle. - Avoid Overfilling
Stop filling when the tube is about three-quarters full. You need space to fold and seal the end. - Remove Air
Flatten the open end of the tube. Squeeze gently to push out any extra air. This step helps prevent bubbles and keeps your paint fresh.
Note: If you want to create custom colors, mix your paints before you fill the tube. This is a great way to try new shades or textures. Many artists enjoy filling your own watercolor pans or learning how to refill a watercolor pan for unique results.
Sealing and Labeling
Now you need to seal the tube and label it so you know what’s inside.
- Clean the Nozzle and Threads
Wipe away any paint from the nozzle and threads. This keeps the cap from sticking. - Seal the Tube
Fold the open end of the tube flat. Use your fingers or pliers to make two or three tight crimps. This keeps the paint from leaking out. - Cap the Tube
Screw the cap on until you feel resistance. Don’t over-tighten. If the cap gets stuck, use warm water or a rubber pad to loosen it. - Label Your Tube
Write the color name, number, and brand on a label. Add details like lightfastness, pigment number, and size. You can even paint a dab of the color on the label for quick ID.
| What to Include on Your Label |
|---|
| Color Name and Number |
| Brand/Manufacturer |
| Pigment Composition/Number |
| Lightfastness (Durability) |
| Health and Safety Info |
| Series Number |
| Size |
| Opacity/Transparency |
Tip: Wrap the label around the tube and cover it with clear tape to keep it clean.
Troubleshooting Tips
Sometimes things don’t go as planned. Here are some common problems and how to fix them:
- Air Pockets
Squeeze the tube from the bottom as you fill. Tap it on a cushioned surface to help the paint settle. Fold the end at least three times to keep air out. - Messy Filling
Use a funnel and work slowly. Wipe up spills right away. - Leaks
Check that the cap is tight. If it still leaks, place a piece of plastic wrap under the cap. Store leaky tubes in a secondary container. - Air Bubbles
Stir your paint slowly before filling. If you see bubbles, slow down and let the paint settle. - Drying or Separation
Mull your paint to a stiff paste. Avoid over-oiling. Store tubes in a cool, dry place away from sunlight. - Stuck Caps
Don’t force them. Use warm water or a rubber pad to loosen.
Note: Refilling empty paint tubes helps the environment. You reduce waste, save resources, and lower greenhouse gas emissions. You also get to experiment with filling your own watercolor pans and squeeze into tube your favorite custom mixes.
If you want to know how to fill empty paint tubes or how to refill a watercolor pan, just follow these steps. You’ll find that it’s quicker and more satisfying than buying new tubes every time.
You can fill empty paint tubes with these easy steps:
- Squeeze or scoop paint into the tube.
- Tap the tube to settle the paint.
- Add more paint if needed.
- Fold the end to seal.
- Label your tube.
Try Xinfly Packaging tubes. You’ll love saving money and making your own colors!
Filling Empty Paint Tubes – Frequently Asked Questions
A practical guide for studios and indie paint makers: choosing tube types, prepping paint, filling tools, tail sealing, coding, storage, safety and troubleshooting.
1) Which tube type is best for paint—aluminum, ABL or plastic?
2) What sizes do paint tubes commonly use?
3) What tools do I need for manual filling?
4) How do I prepare the paint before filling?
5) What is the correct fill level?
6) How do I seal aluminum paint tubes?
7) Can I hot-air seal instead of crimping?
8) How do I code batch/colour on the tube?
9) What safety steps should I follow?
10) How do I reduce bubbles and voids?
11) How should filled tubes be stored?
12) What QC checks should I perform?
13) Any tips for acrylic vs. oil paint filling?
14) Can I reuse or recycle components?
15) Why consider Xinfly Packaging for paint tubes?
Ready to customize your packaging? Contact our team for detailed pricing, MOQ flexibility, and fast production samples.